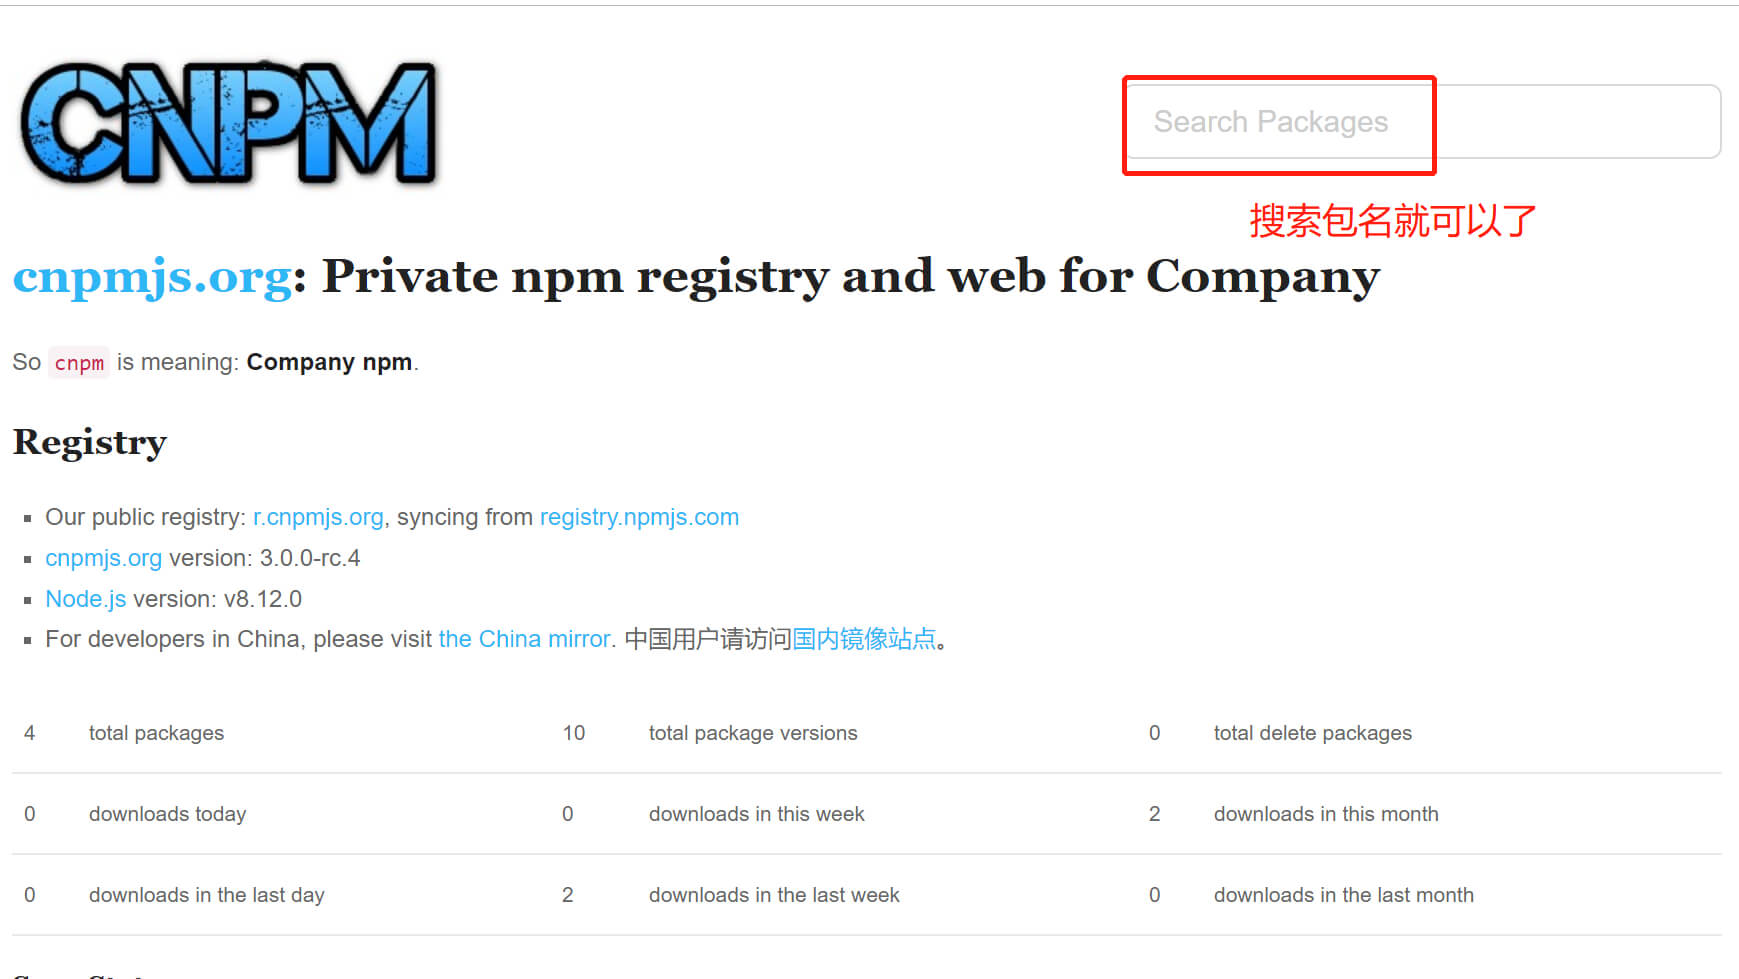
cnpm私有化服务器搭建,包管理
一、服务器环境搭建
- 1.环境依赖
node  >= 4.2.3
git
mysql
1
2
3
2
3
本机操作系统是centos7.4
注:操作目录/private-package,该目录包含了cnpmjs的源码和Components组件,下文中所说的IP都是指服务器的外网IP地址
- 2.克隆cnpmjs代码
git clone https://github.com/cnpm/cnpmjs.org.git
cd cnpmjs.org
npm install
1
2
3
2
3
3.创建mysql数据库
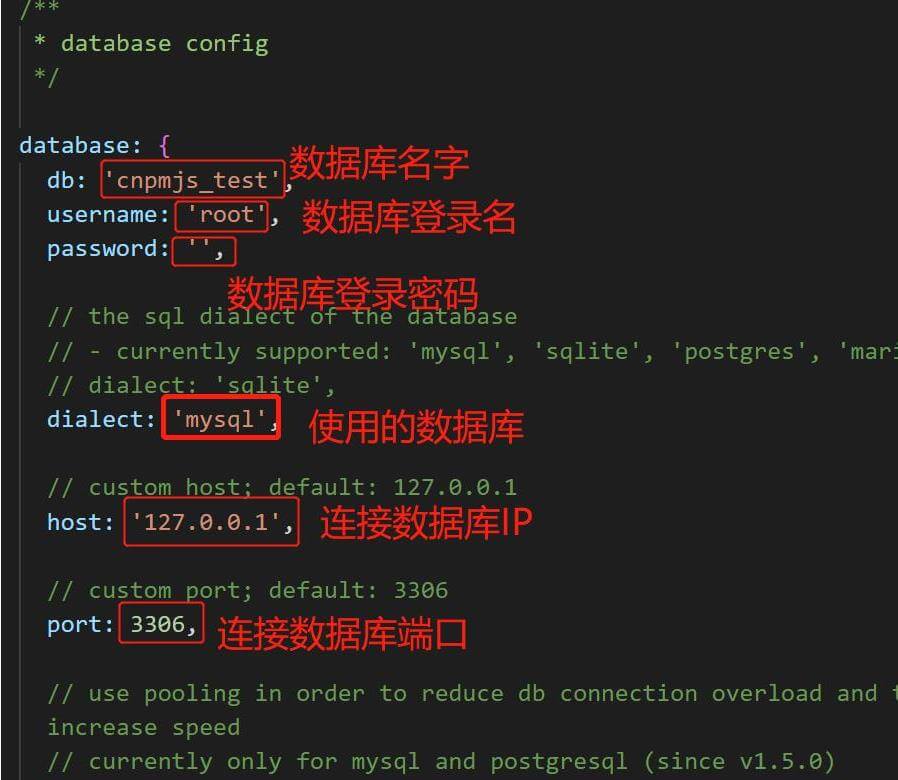
4.修改配置文件(cnpmjs.org/config/index.js)
a.数据库设置
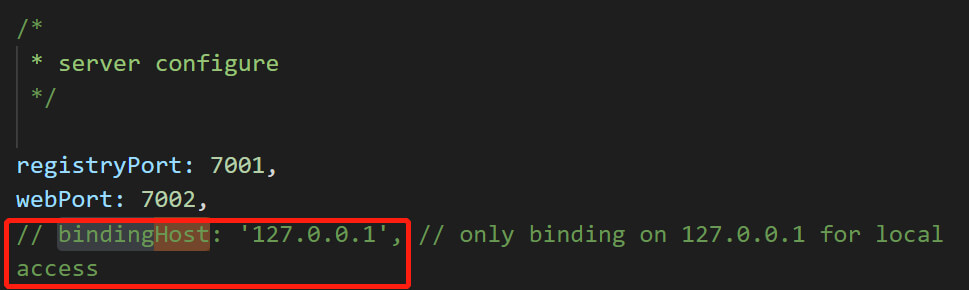
注释掉bindingHost这一行,以供外网访问
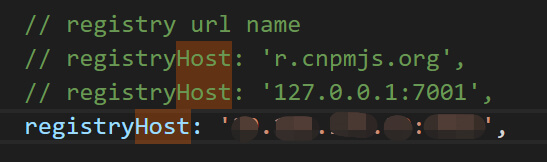
修改registryHost字段的值,改成服务器的外网IP,这样便于下载包的时候走的是这个镜像地址
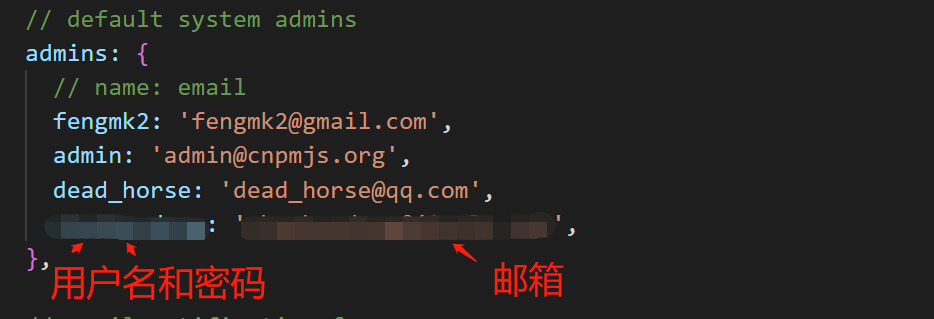
配置操作私有组件的管理员
5.配置完毕,启动我们的服务
cd cnpmjs.org
node dispatch.js
1
2
2
或者使用pm2来管理我们的进程
npm i -g pm2   // 安装pm2
pm2 start dispatch.js   // 启动服务
1
2
2

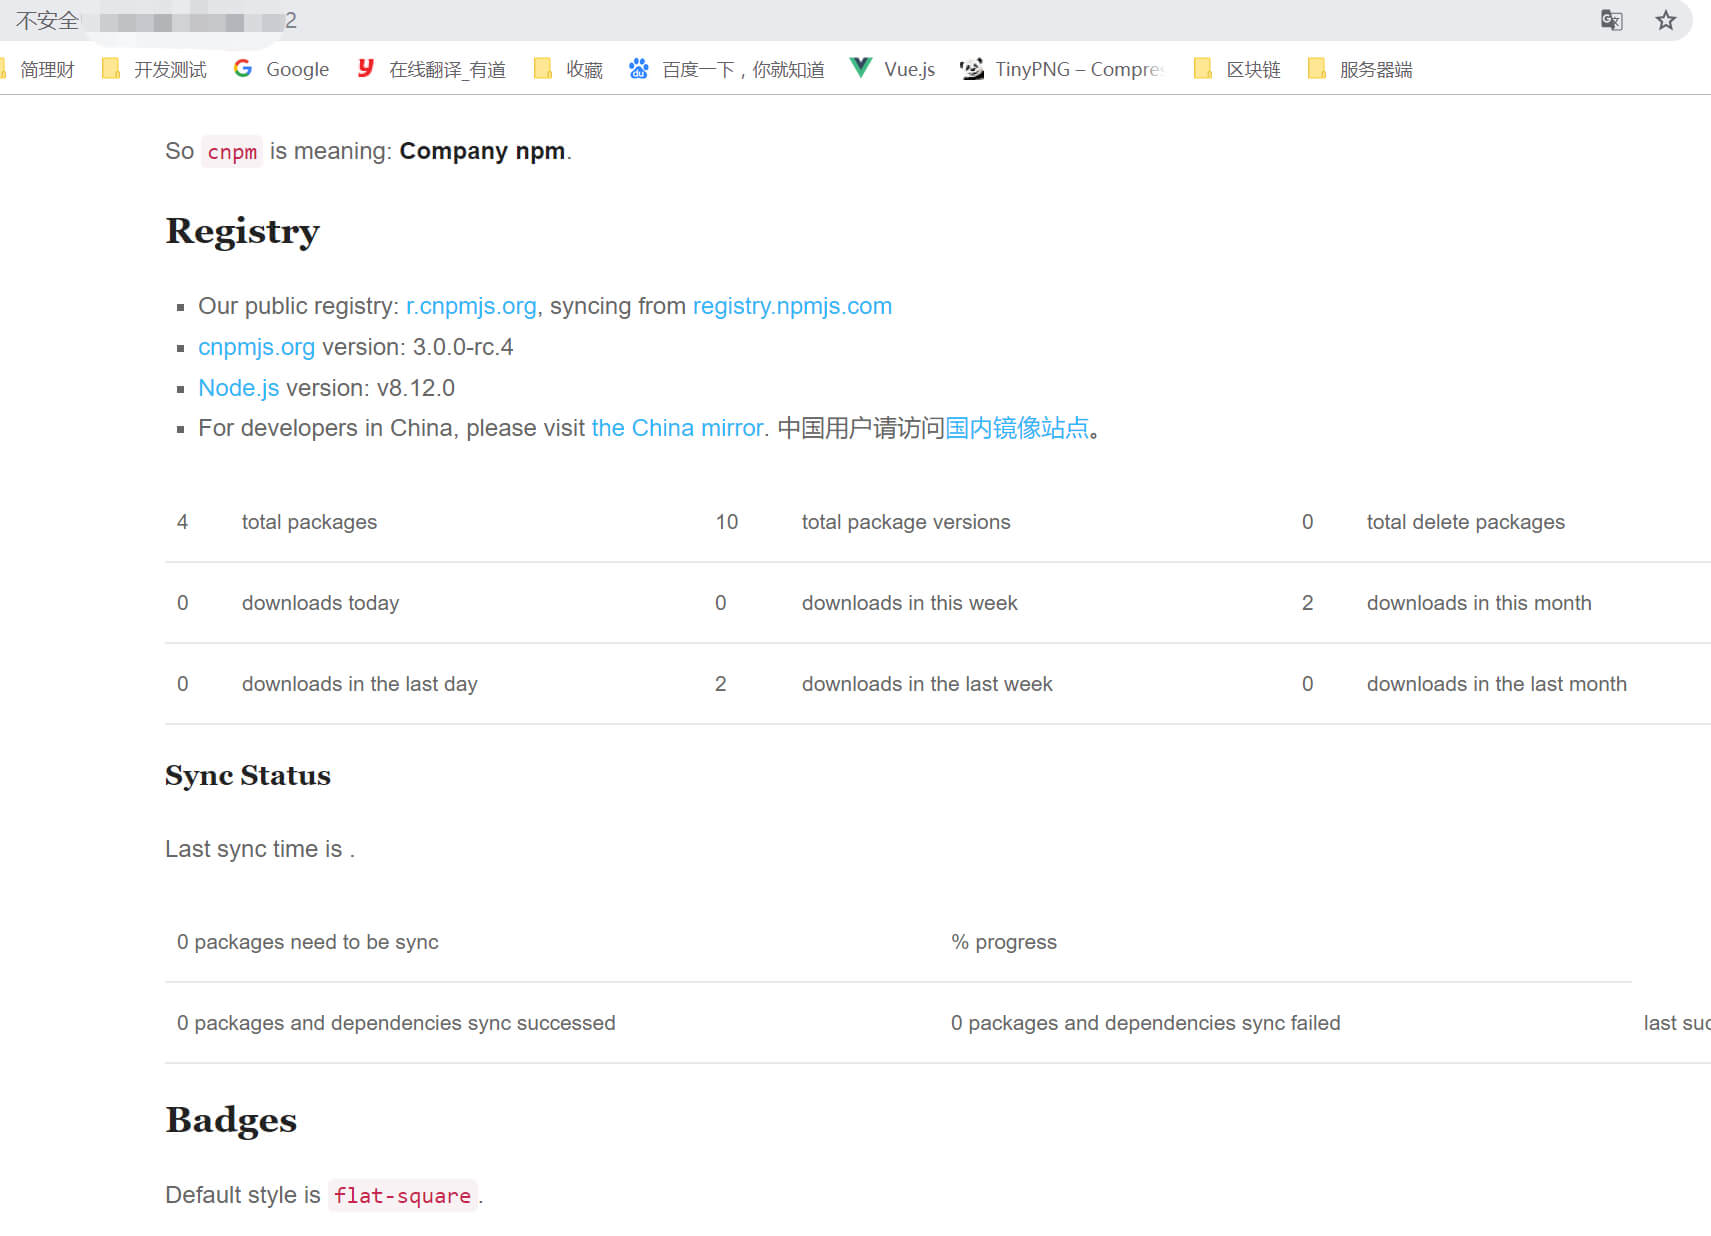
在浏览器中打开刚才配置的IP:7002就可以访问我们搭建的私有库了
二、怎么上传私有包到库中呢?
- 1.首先见cnpm的registry修改成我们的私有注册地址
cnpm set registry http://IP:7001
1
- 2.登录cnpm,就是在config/index.js文件中配置的管理员
 cnpm login
 Username: myname
 Password: ***
 Email: (this IS public) test@test.com
1
2
3
4
2
3
4
3.上传到私有仓库
- a.新建项目
cd 某个目录
创建目录  mkdir helloworld
切入目录cd helloworld
创建package.json且初始化名称版本 cnpm initname: (helloworld) @my-company-name/helloworldversion: (1.0.0)
package.json如下:
{  "name": "@my-company-name/helloworld",  "version": "1.0.0",  "description": "my first scoped package",  "main": "index.js",  "scripts": {    "test": "echo \"Error: no test specified\" && exit 1"  },  "author": "",  "license": "ISC"}
1
2
3
4
5
6- b.上传包到私有库\
cnpm publish+ @my-company-name/helloworld@1.0.01- c.卸载包
cnpm unpublish [name] 也可卸载具体版本14.预览我们上传的包